Scan-To-FAX
In this section, we will see how to use the scan-to-FAX service. Let’s see it in detail.
📘 Instructions
A step-by-step guide to using this service.
Use this guide to access the select media page.
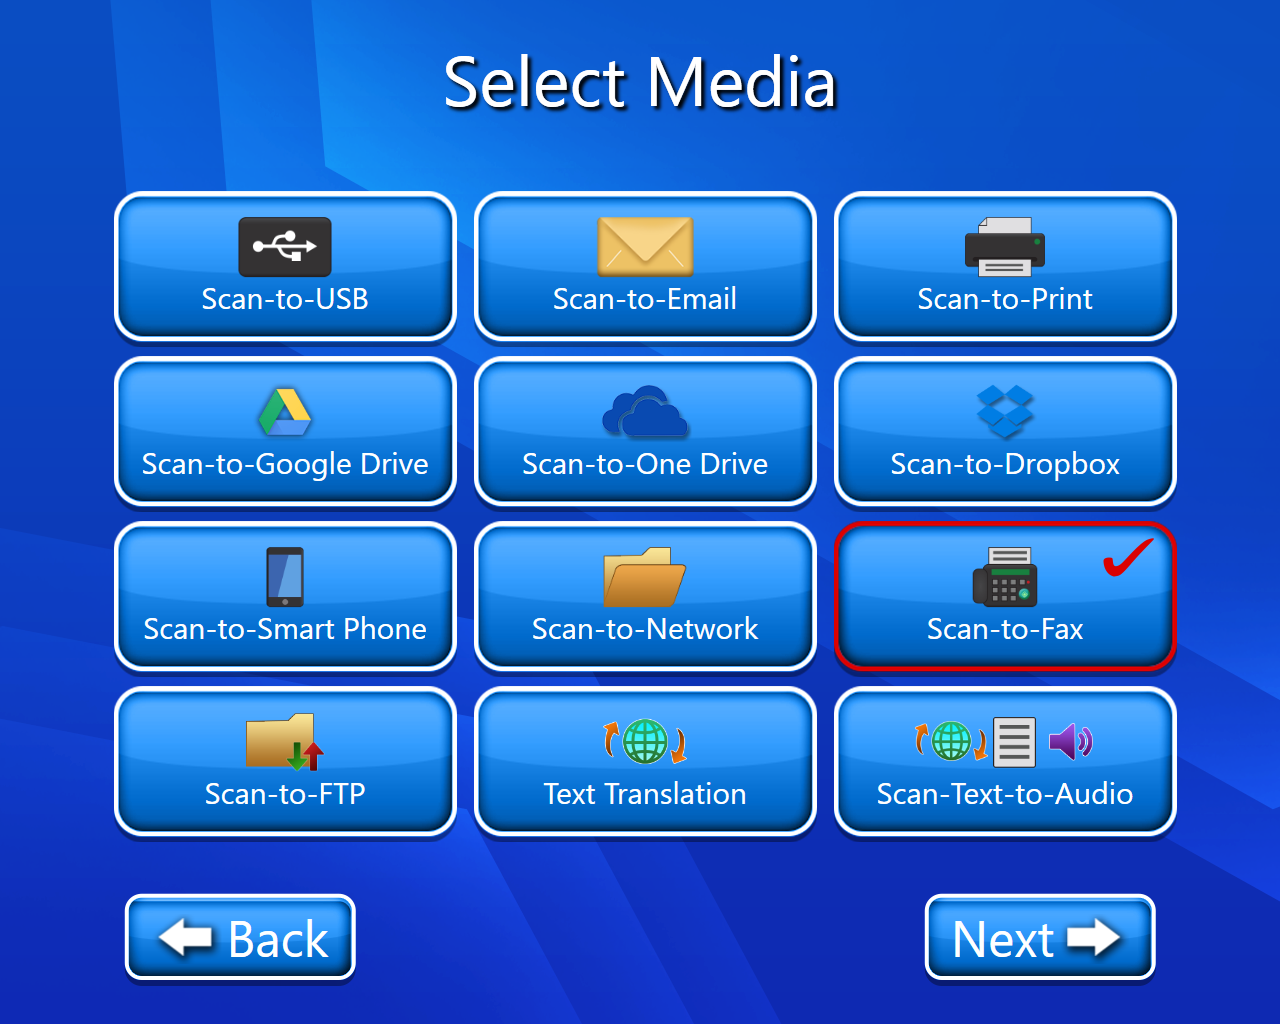
On the select media page, select “Scan-to-FAX”.
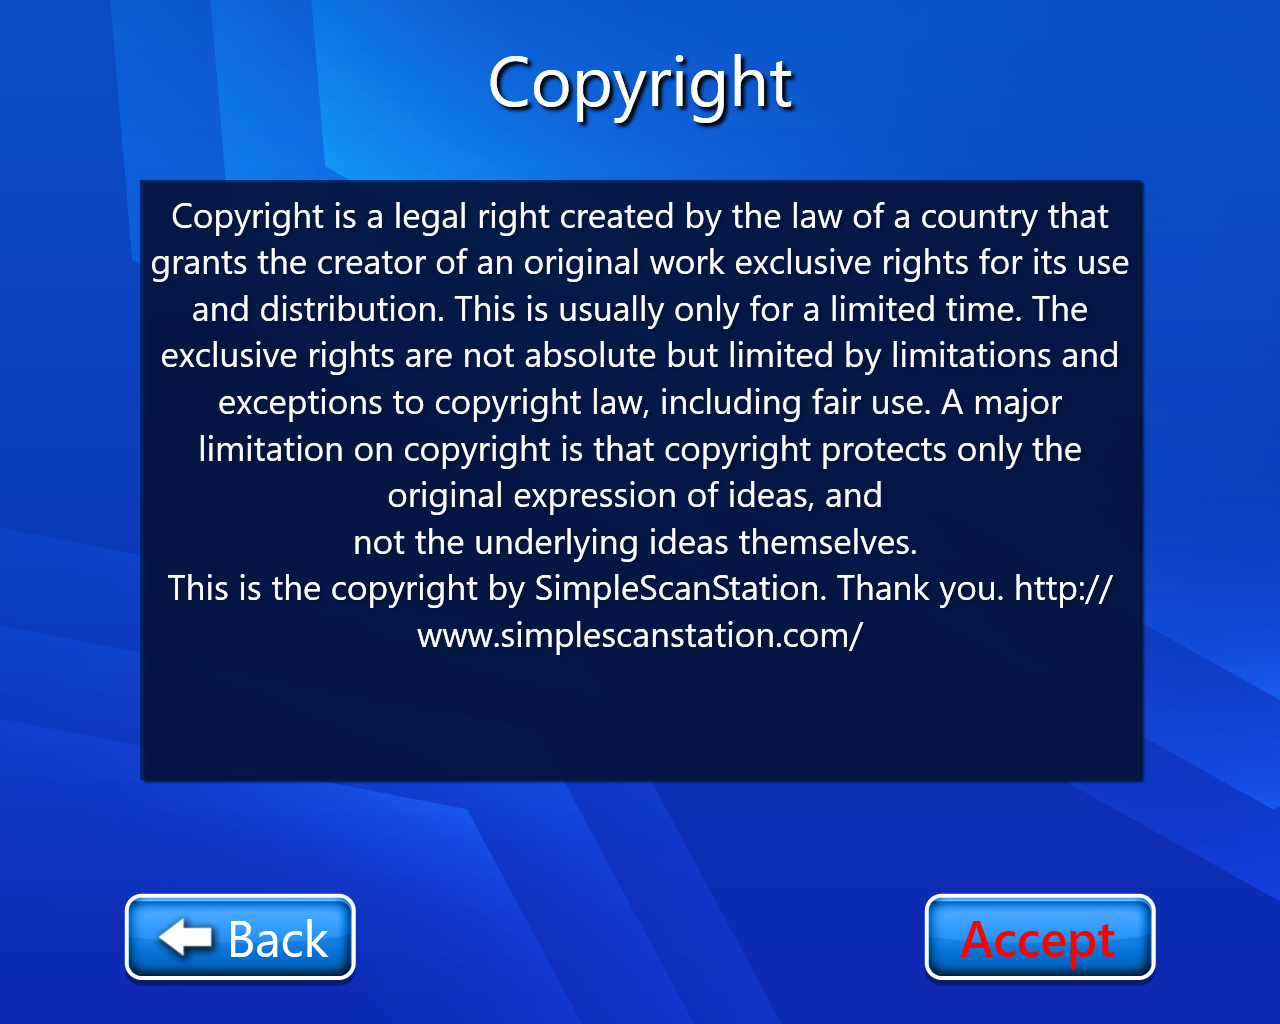
The copyright page will open(Select accept).
The FAX setting page will open. Here we can select the option for the FAX, cover page and FAX confirmation.
1. We can select if we want to send the fax to U.S. and Canada area or if we want to send an International Fax.
2. We can select/deselect Cover Page, according to our requirement.
3. If we want an Email Confirmation of our FAX, we can select this option or we can select No Confirmation.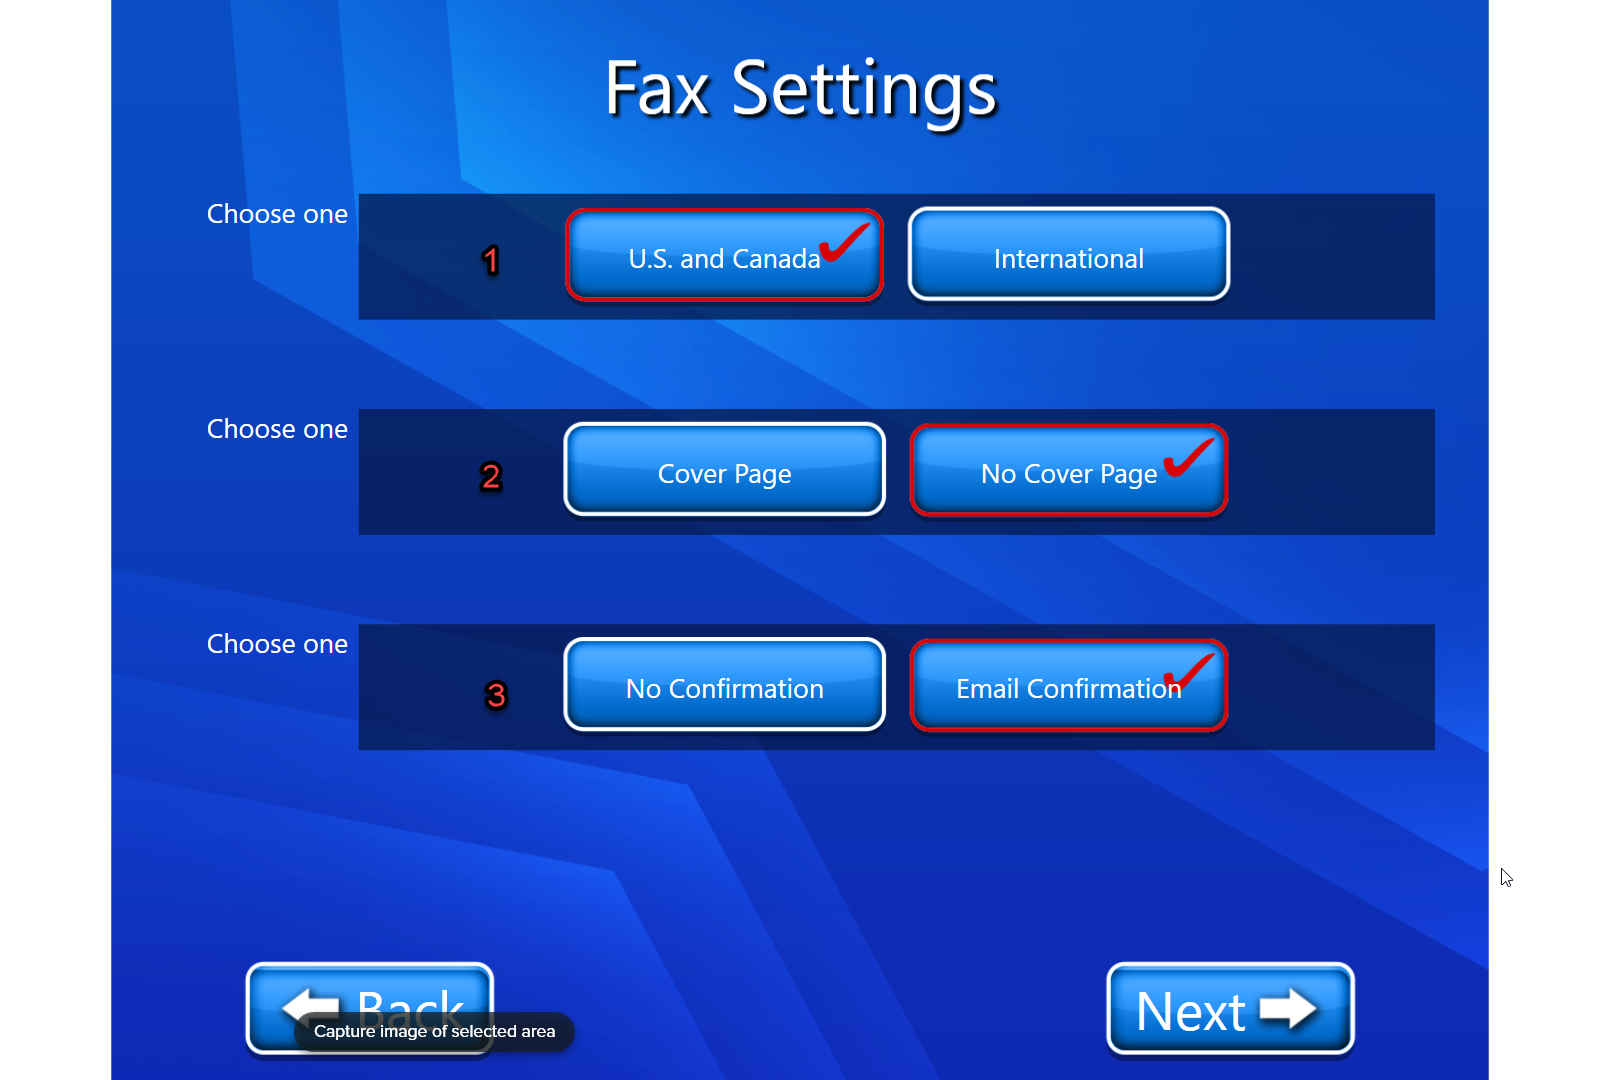
If we don’t want to select the cover page and without any confirmation, choose the option as ‘No Cover Page’ and ‘No Confirmation’ , then select next and follow the following steps:
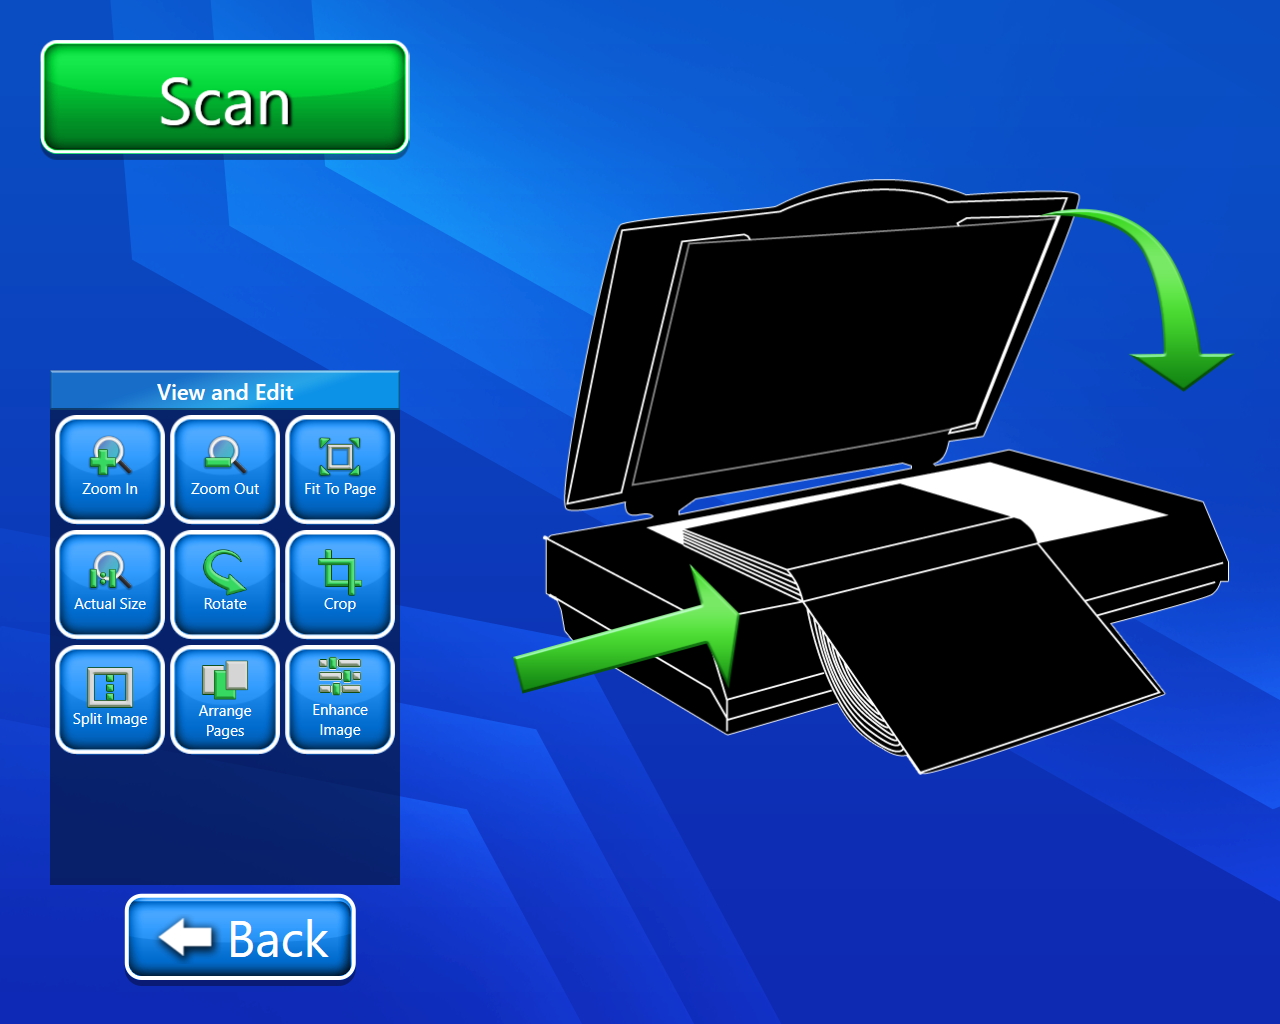
Now we have to scan our document (On this page we have multiple options like we have editing options we can also delete our scanned document etc.). For more details on View and Edit we can go through View and Edit document.
Now we have to enter the FAX number.
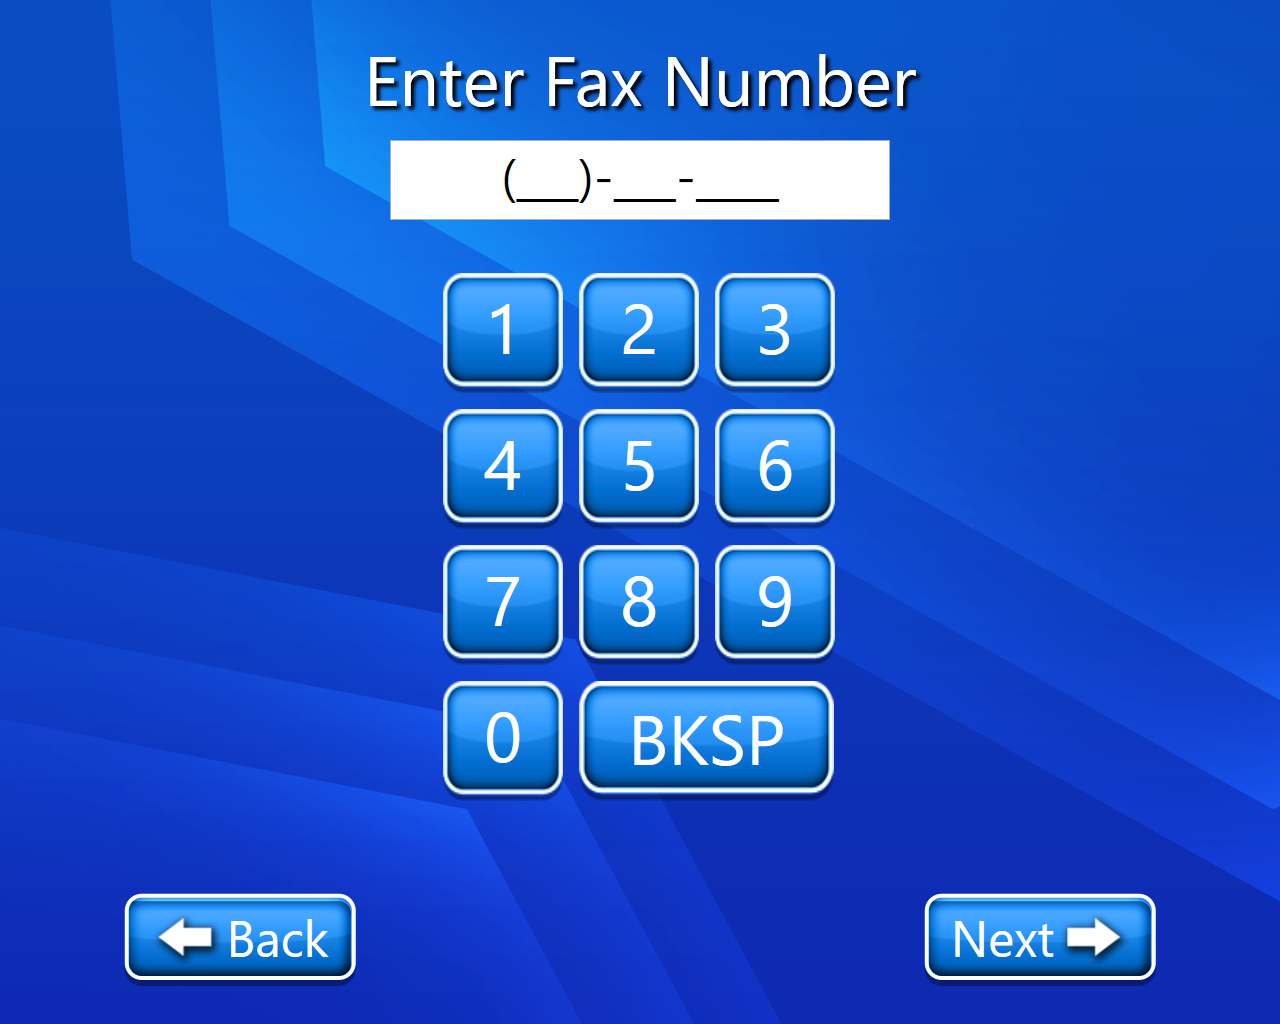
Now a new page will open where we get an option for waiting till the FAX is sent or we will move on and once the FAX is sent email confirmation will be sent to entered email.(Here we selected “NO”).
Now we have 2 options
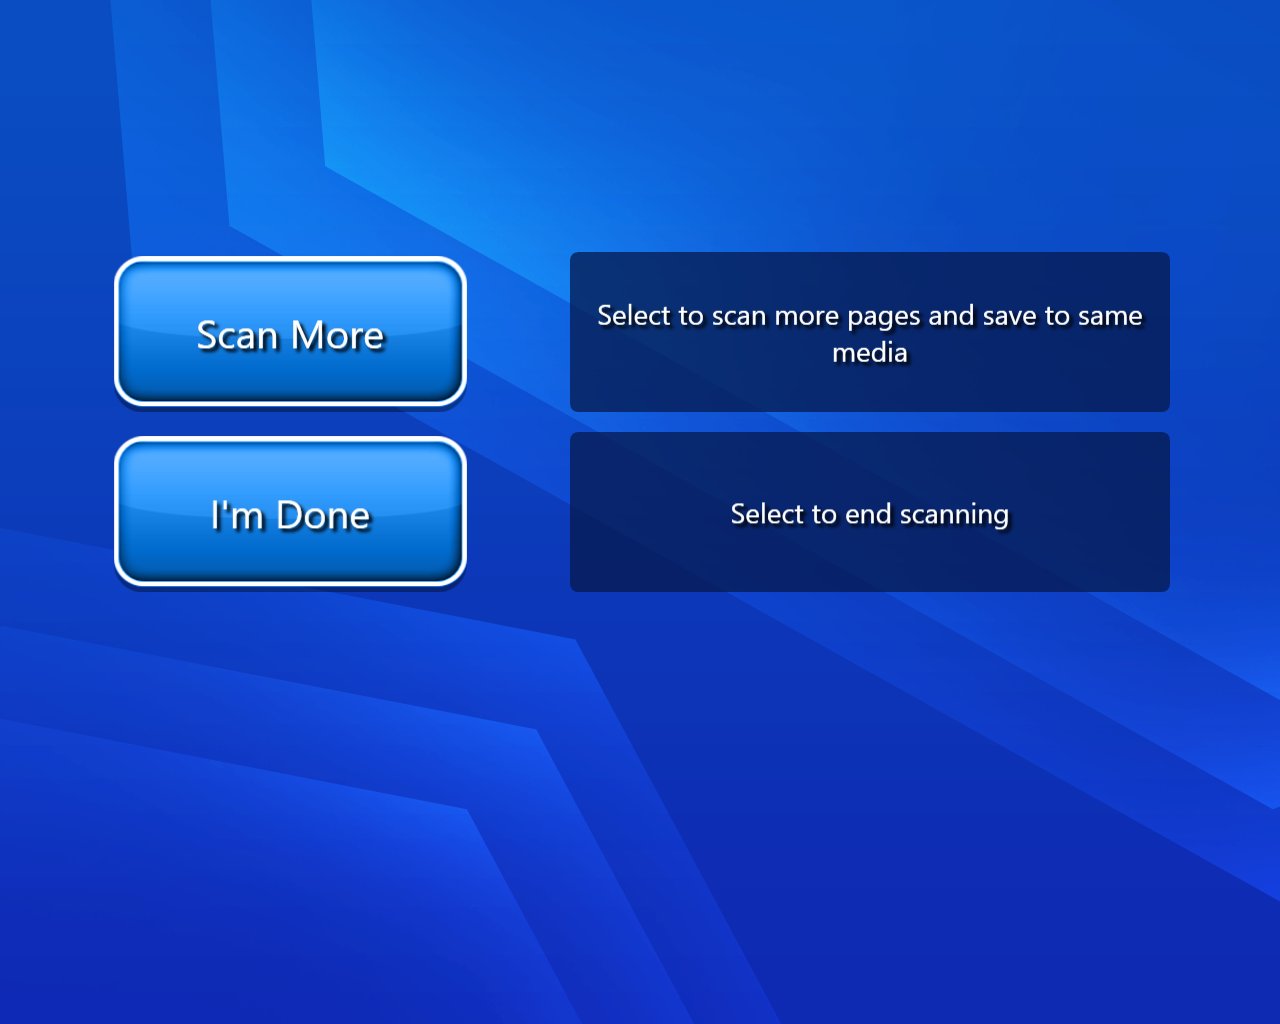
Scan more:- If we selected scan more then we will have to repeat our procedure from point number 5.
I’m Done:- By selecting this option we will finally land on our home page with a thank you message.
9. If we want to select cover page as well as want an Email Confirmation, choose the option ‘Cover Page’ and ‘Email Confirmation’, then select next.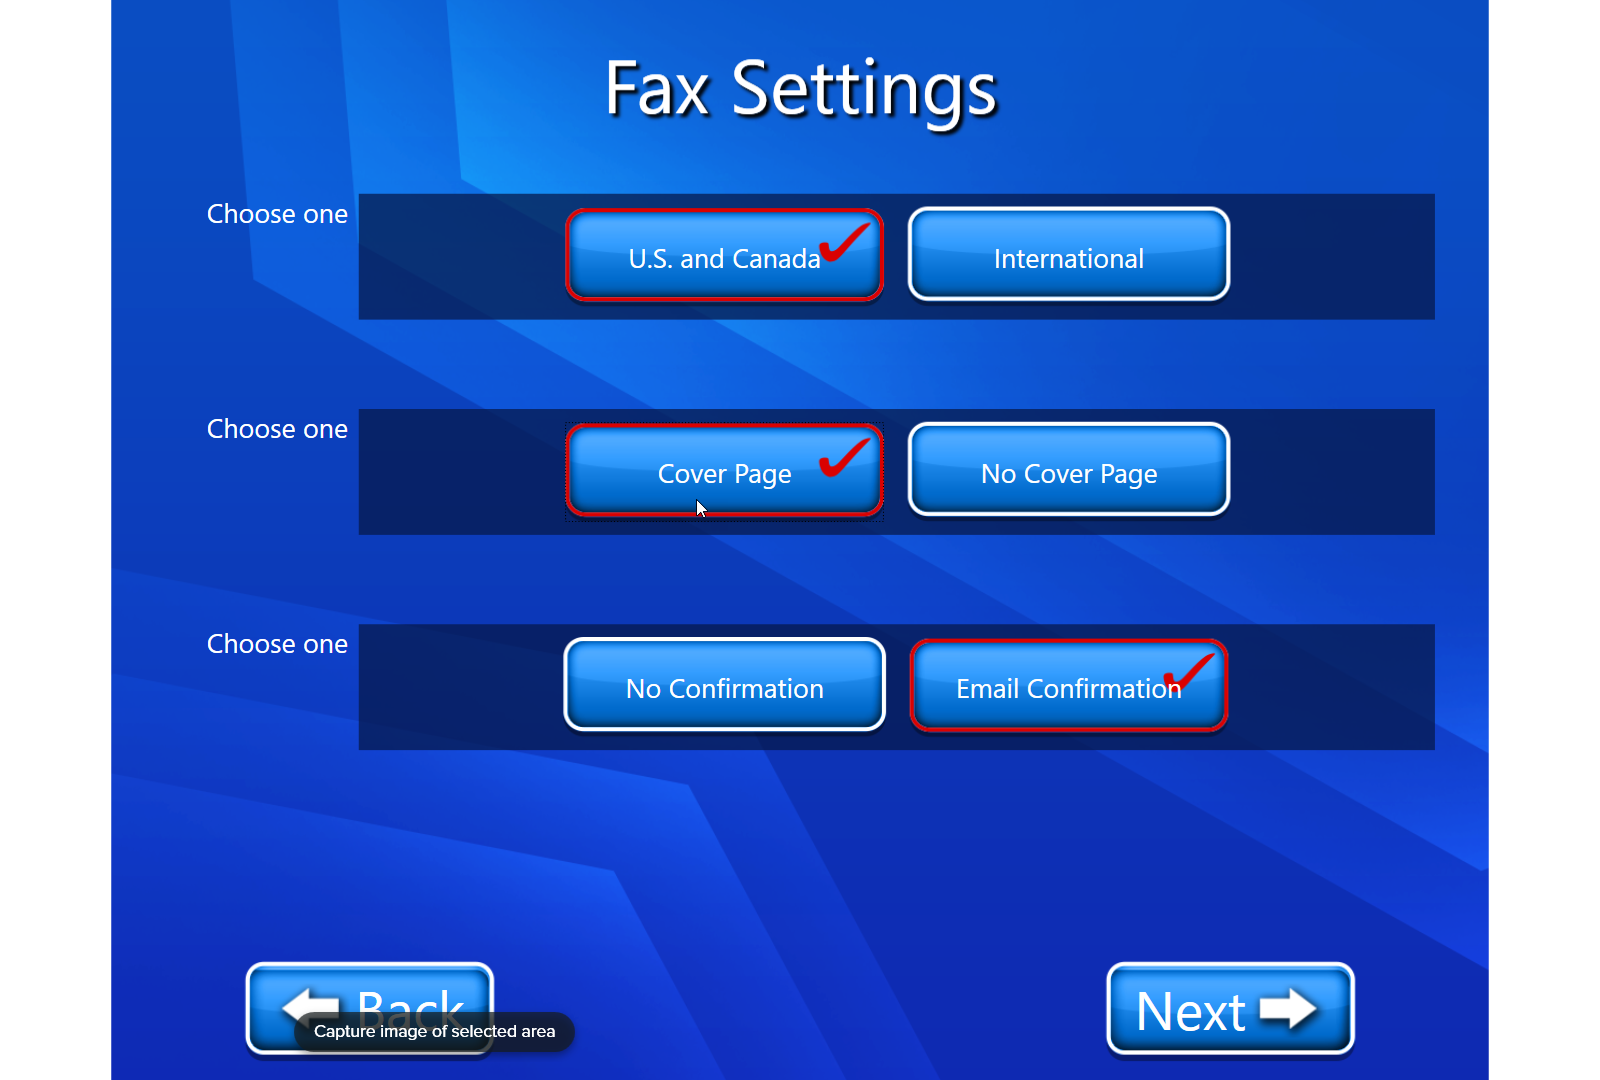
The following page is displayed, now fill all the fields on Fax Cover Page.
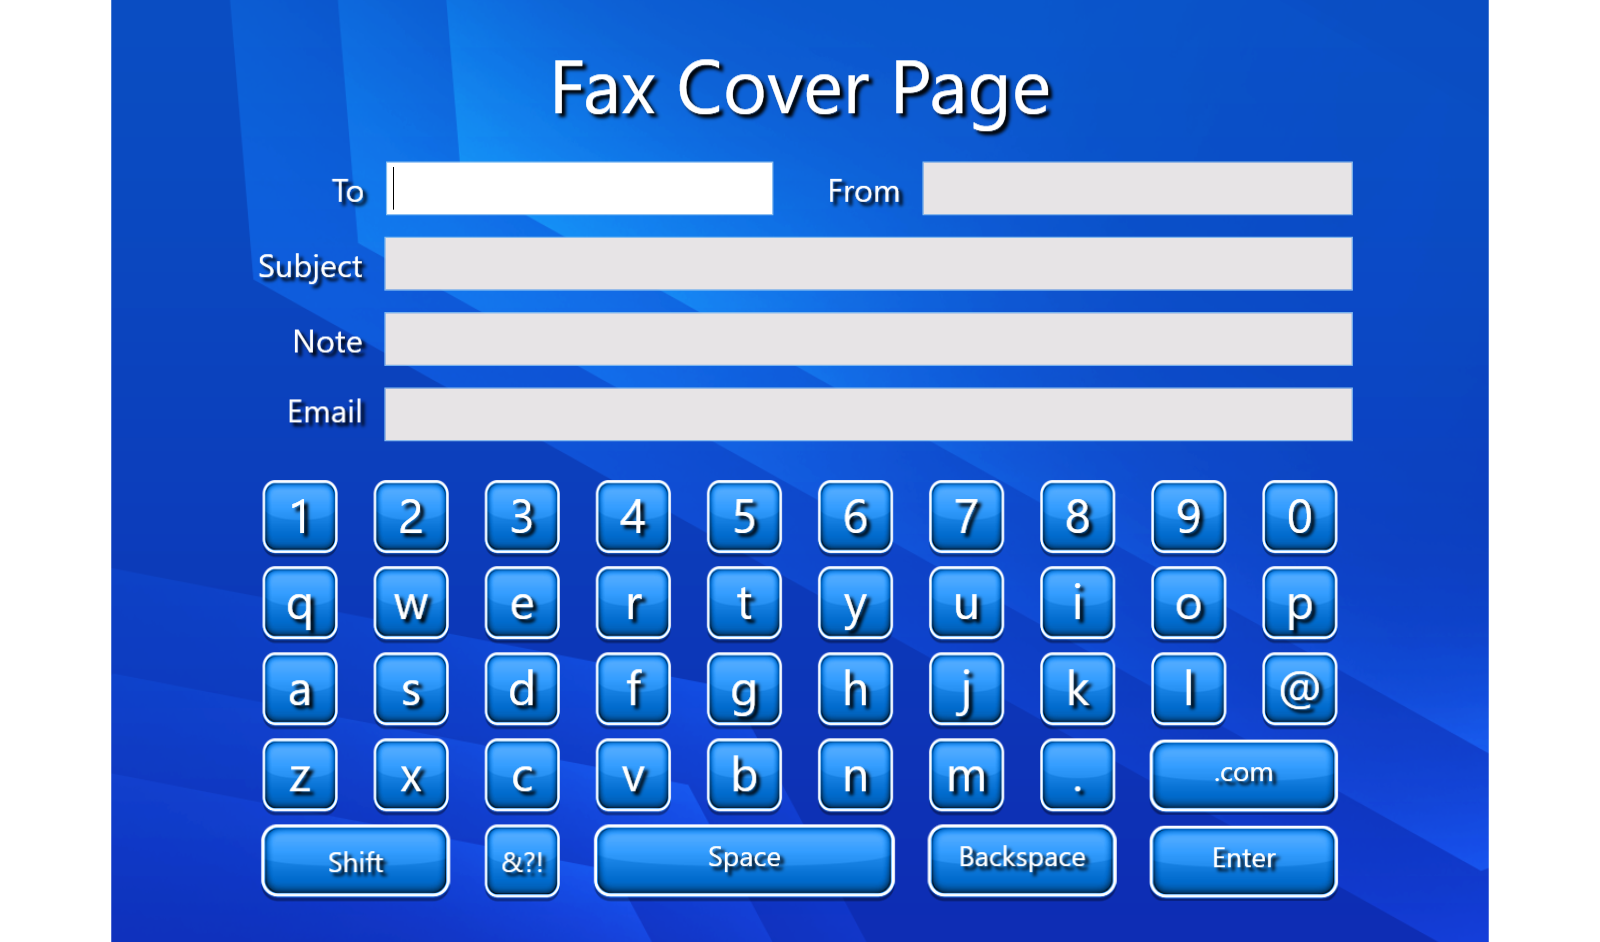
a. To : This contains the receiver’s fax
b. From : This contains the sender’s fax
c. Subject : This contains the subject of the fax.
d. Note : Here we can include any brief important information.
e. Email : This field is for entering the email.The Following Page appears for Email Confirmation
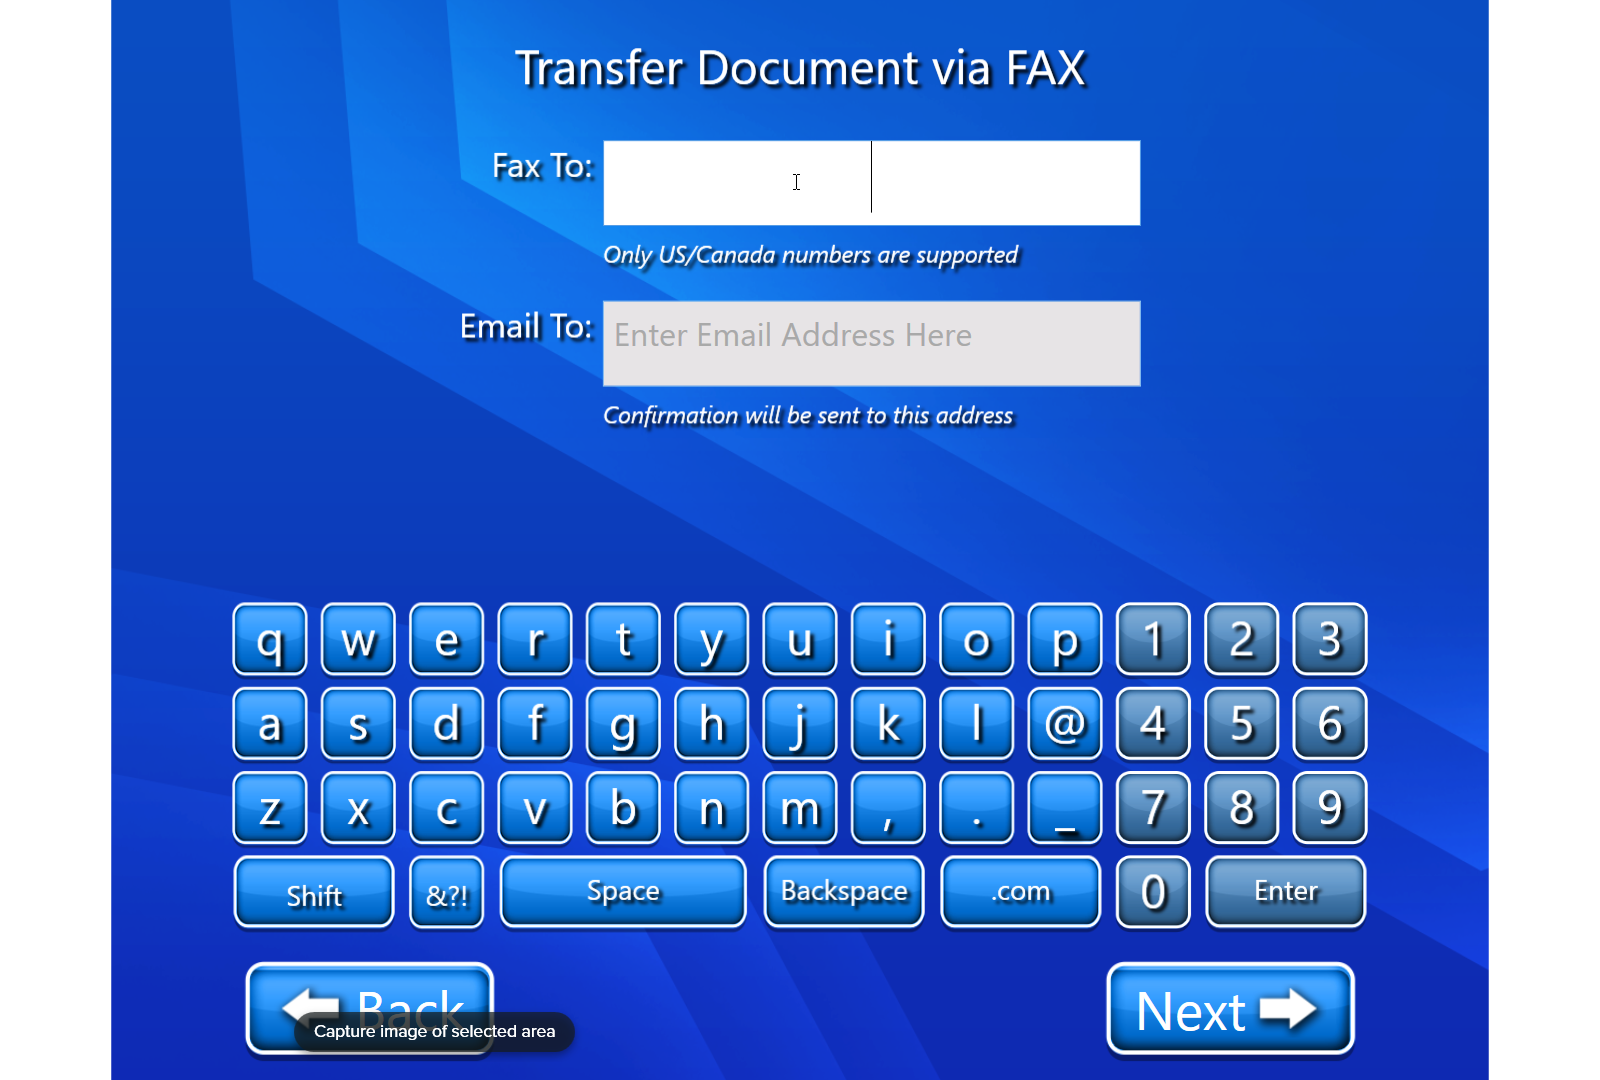
Fax To : In this field, we need to enter the fax number of the recipient.
Email To : In this field, we need to enter the mail id to which we want to send the confirmation of FAX.After filling the entries, select next and follow all the steps from Step 6 to Step 9.
Video description of the above feature is:-
