
Scan-To-FTP
In this section, we will see how to use the scan-to-FTP service. Let’s see it in detail.
📘 Instructions
A step-by-step guide to using this service.
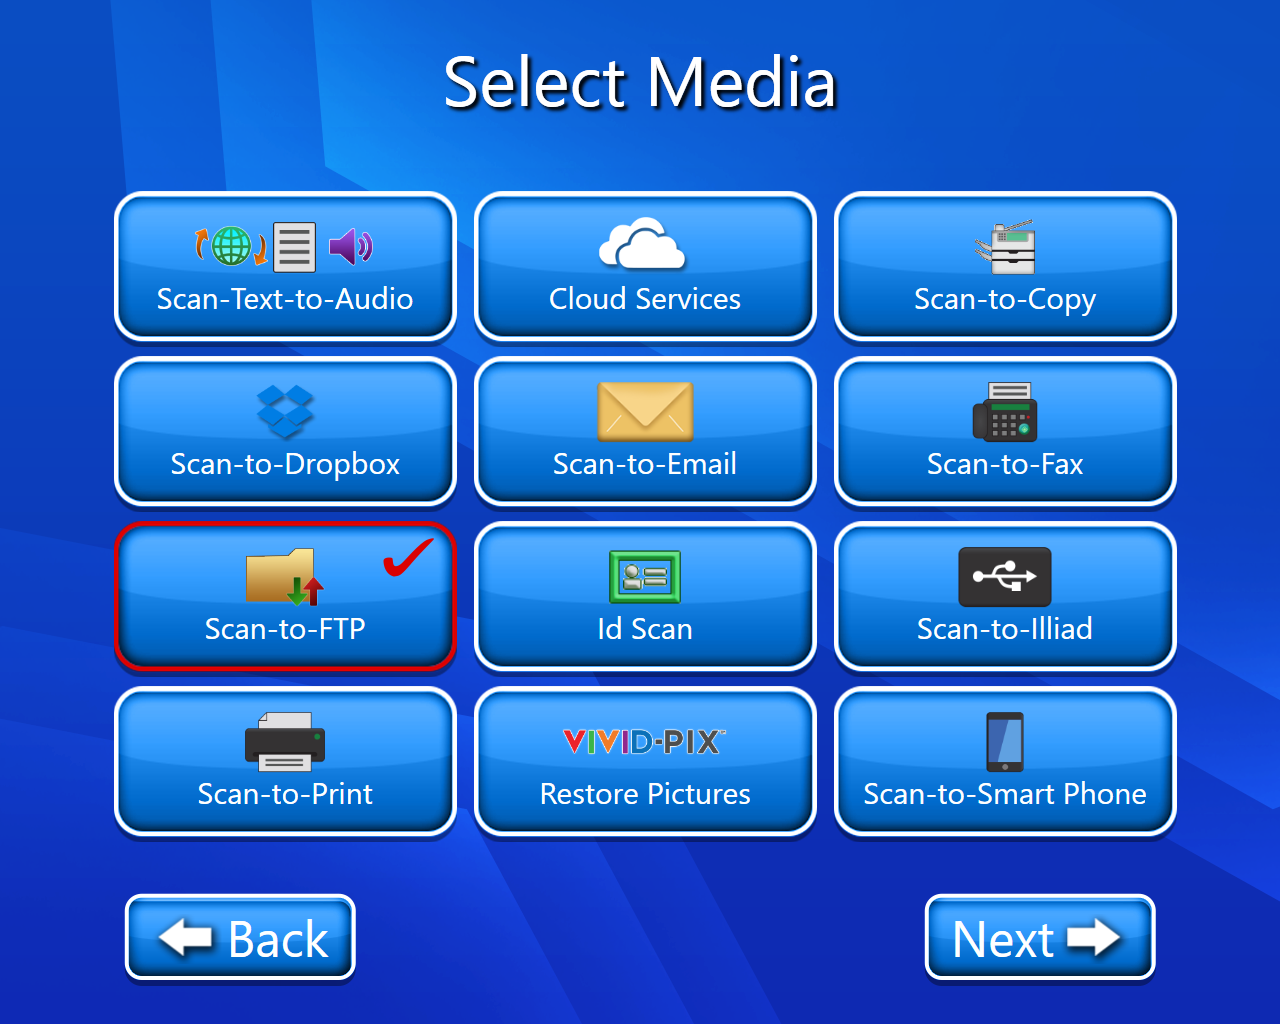
Use this guide to access the select media page.
On the select media page, select “Scan-to-FTP”.
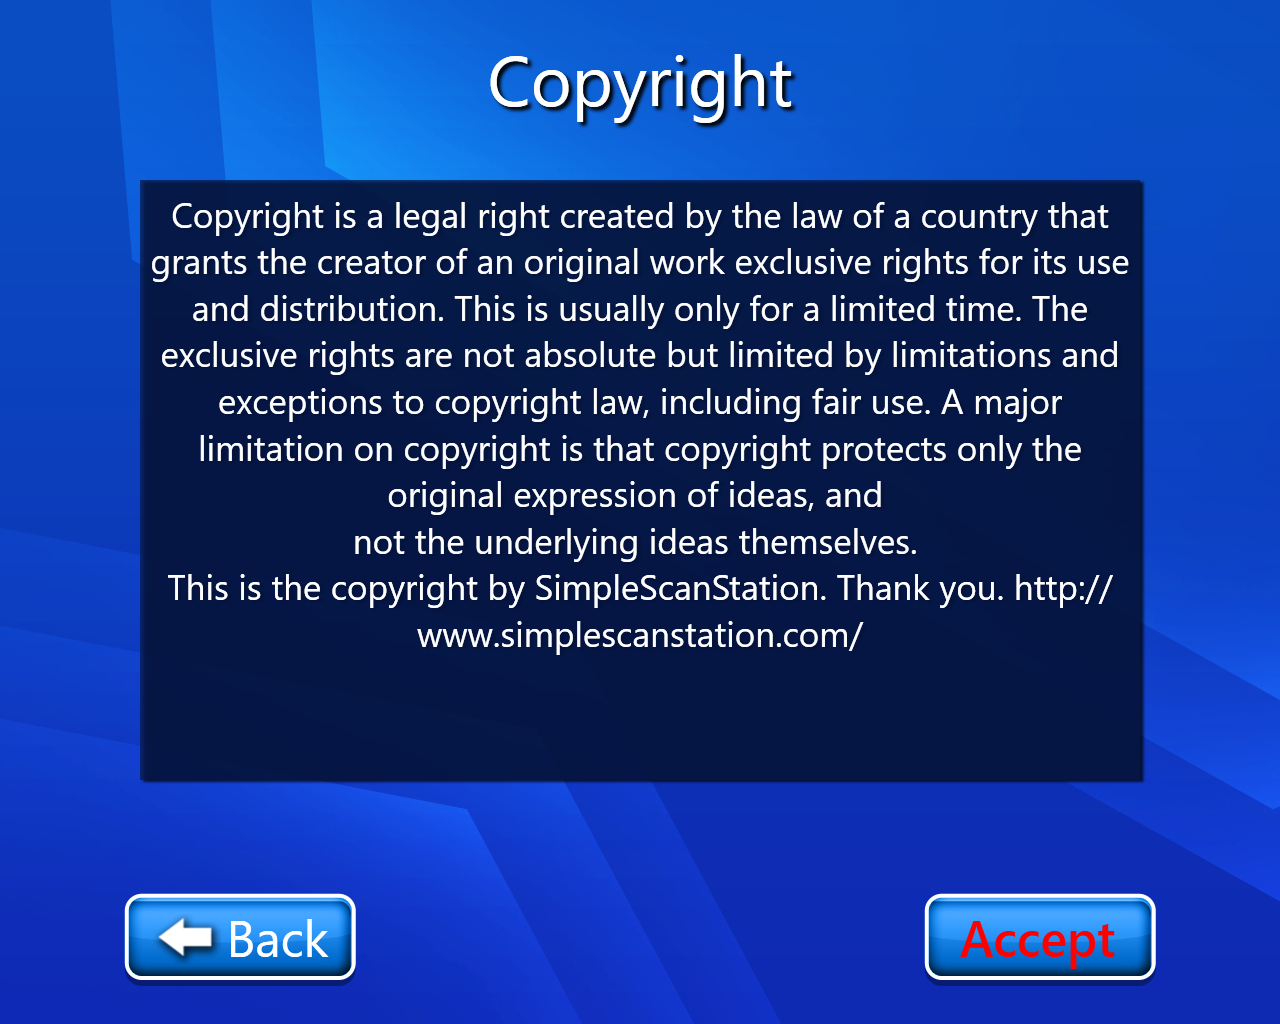
The copyright page will open(Select accept).
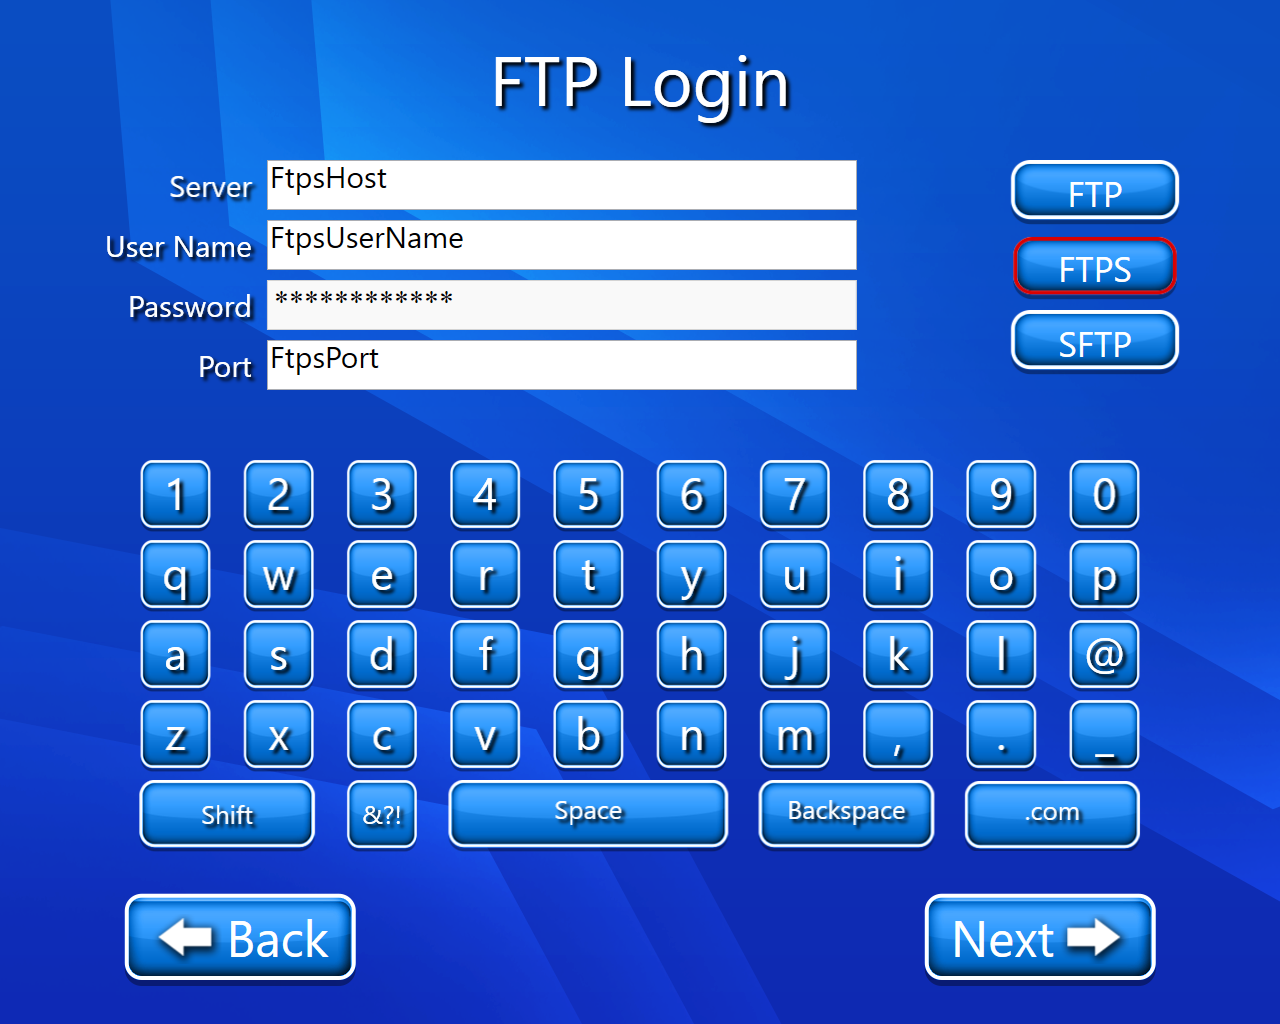
The FTP login page will open and we have to fill following data:-
Server
Username
Password
Port
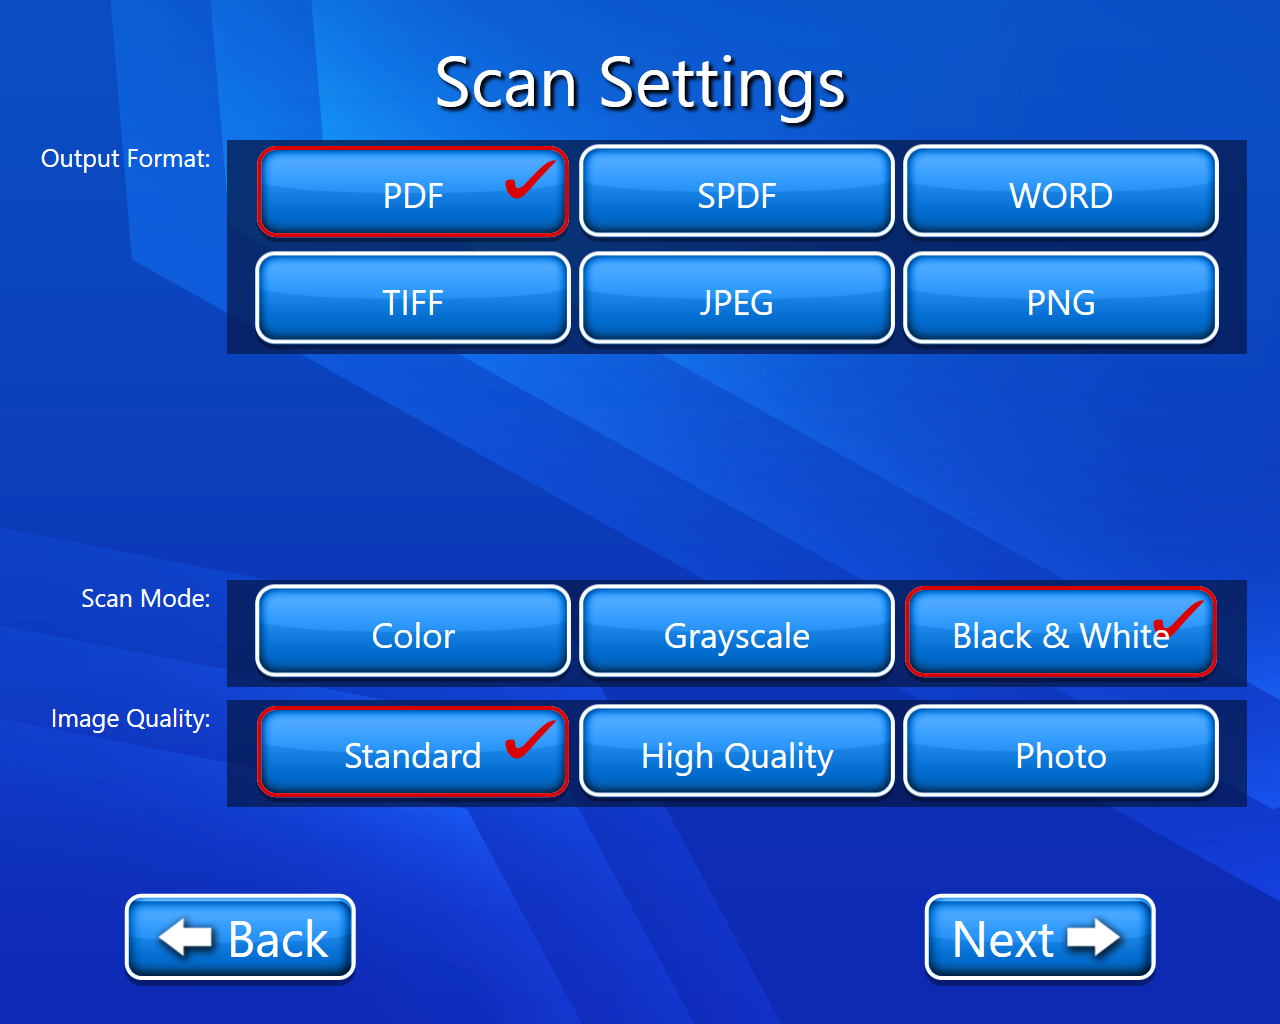
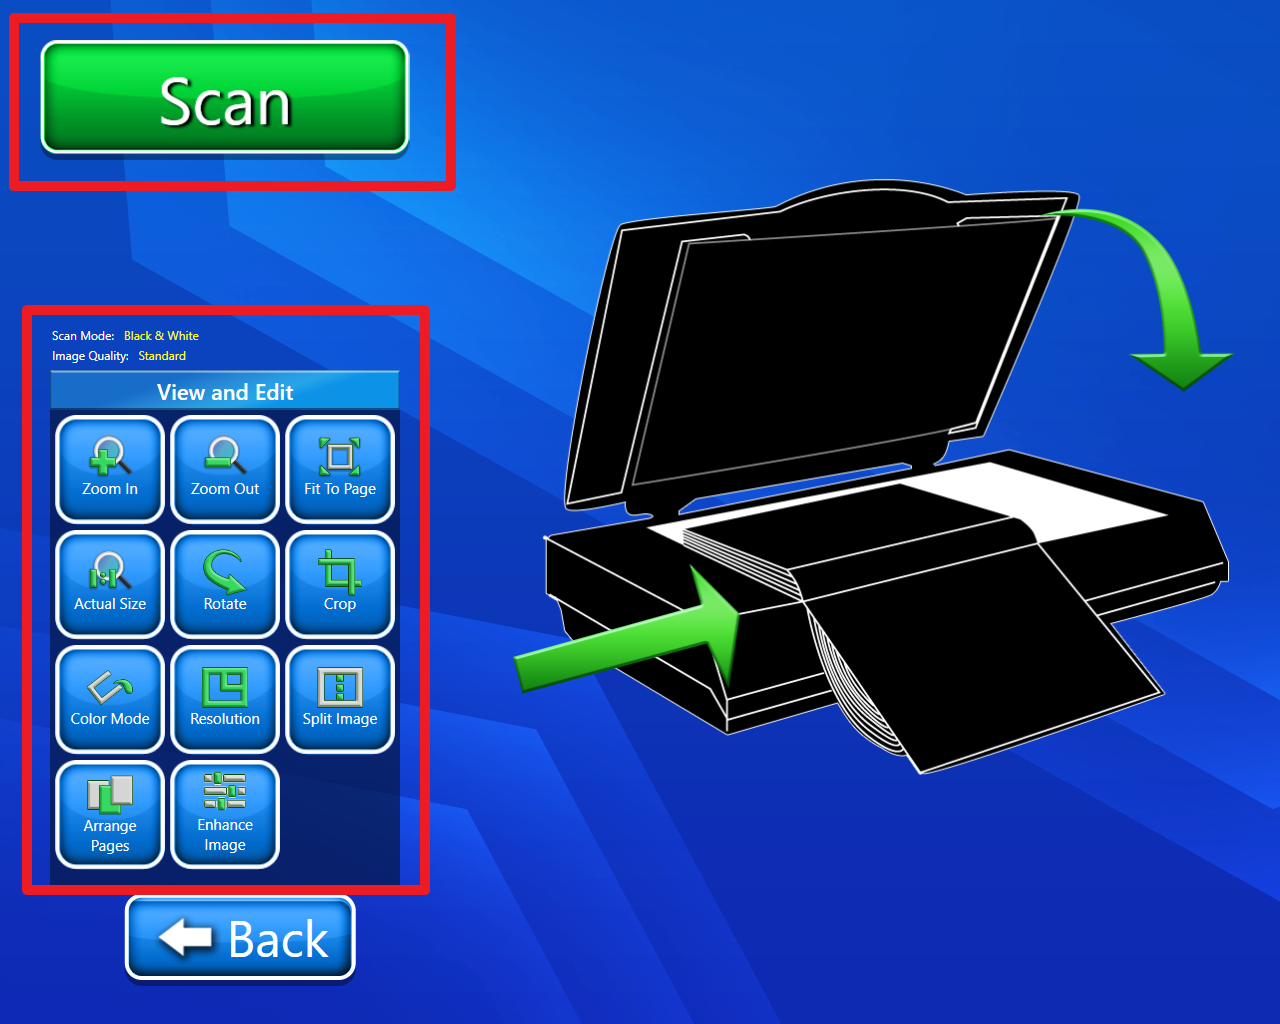
The scan setting page will open where we can select the output format, scan mode, and image quality.
Now we have to scan our document (On this page we have multiple options like we have editing options we can also delete our scanned document etc.). For more details on View and Edit we can go through View and Edit document.
Now we have to select the path and enter the name of the scanned document (the default name will be SimpleScanStation).
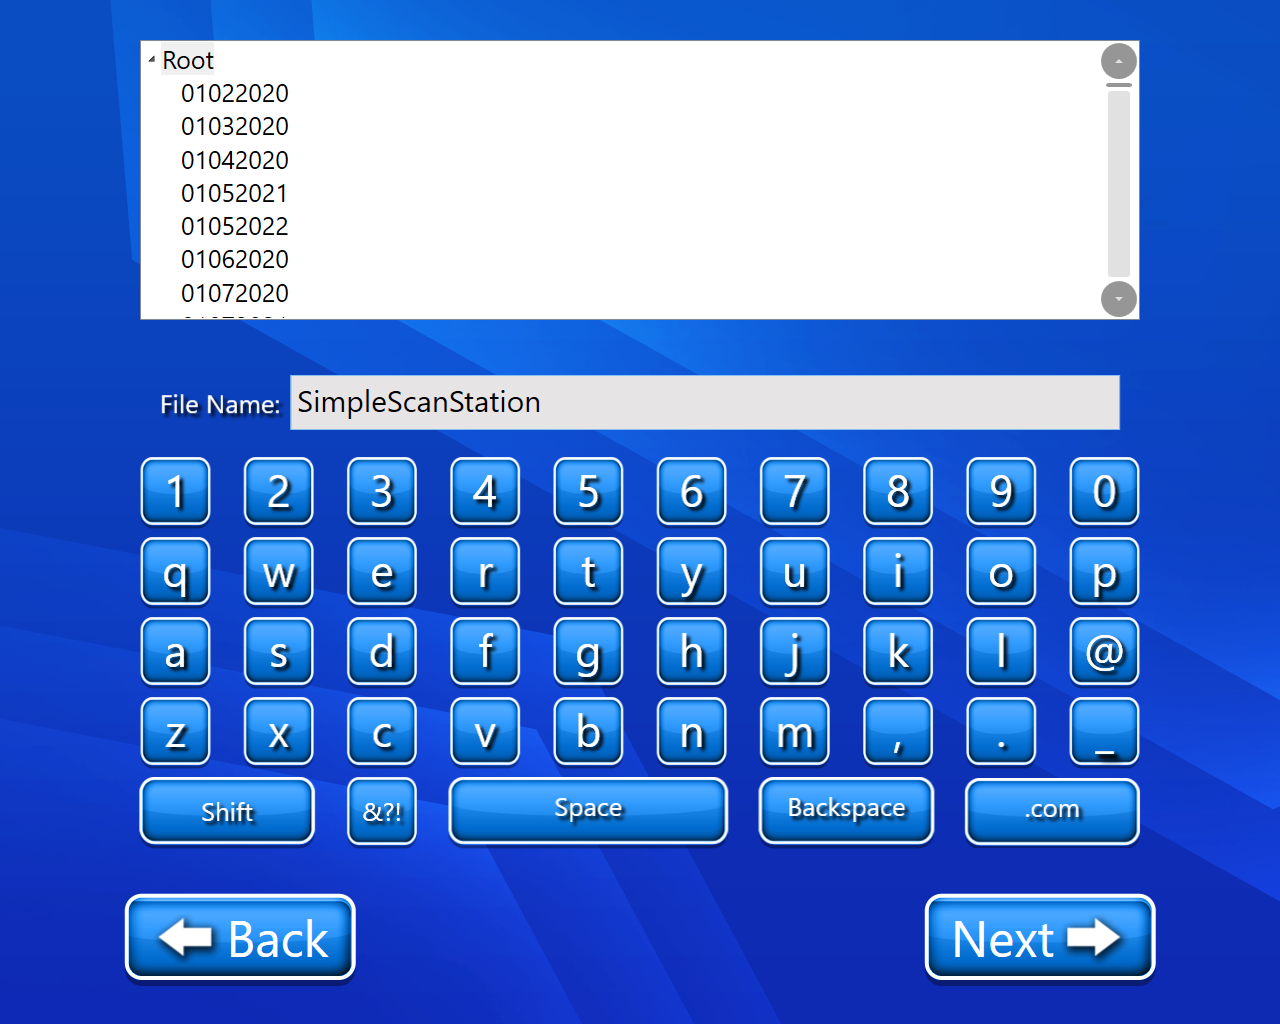
Now click on next and our document will be sent and we will be on our final page.
Now we have 3 options
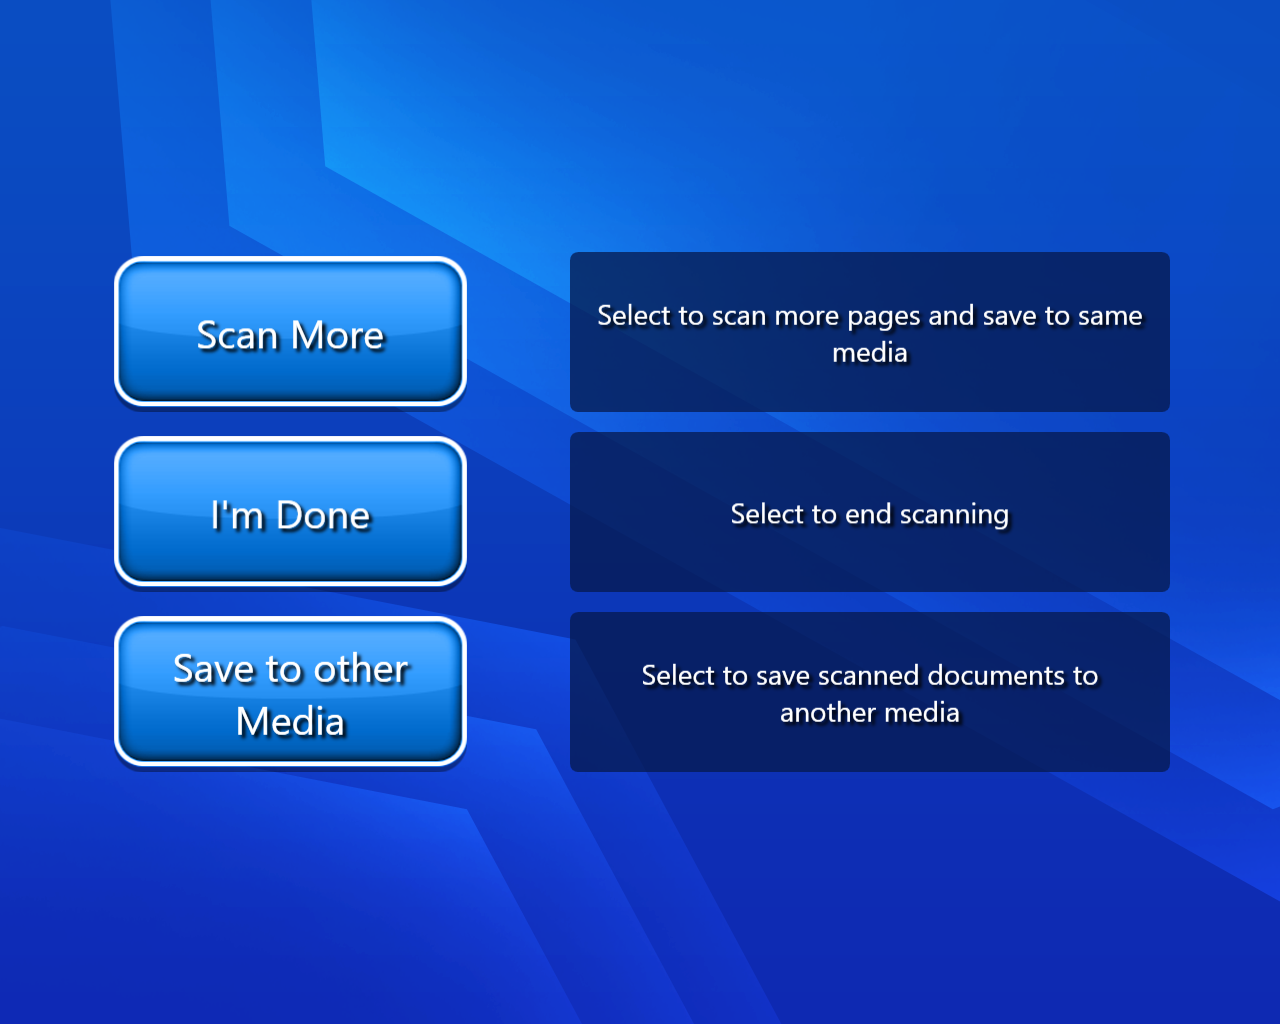
Scan more:- If we select scan more then we will have to repeat our procedure from point number 6.
I’m Done:- By selecting this option we will finally land on our home page with a thank you message.
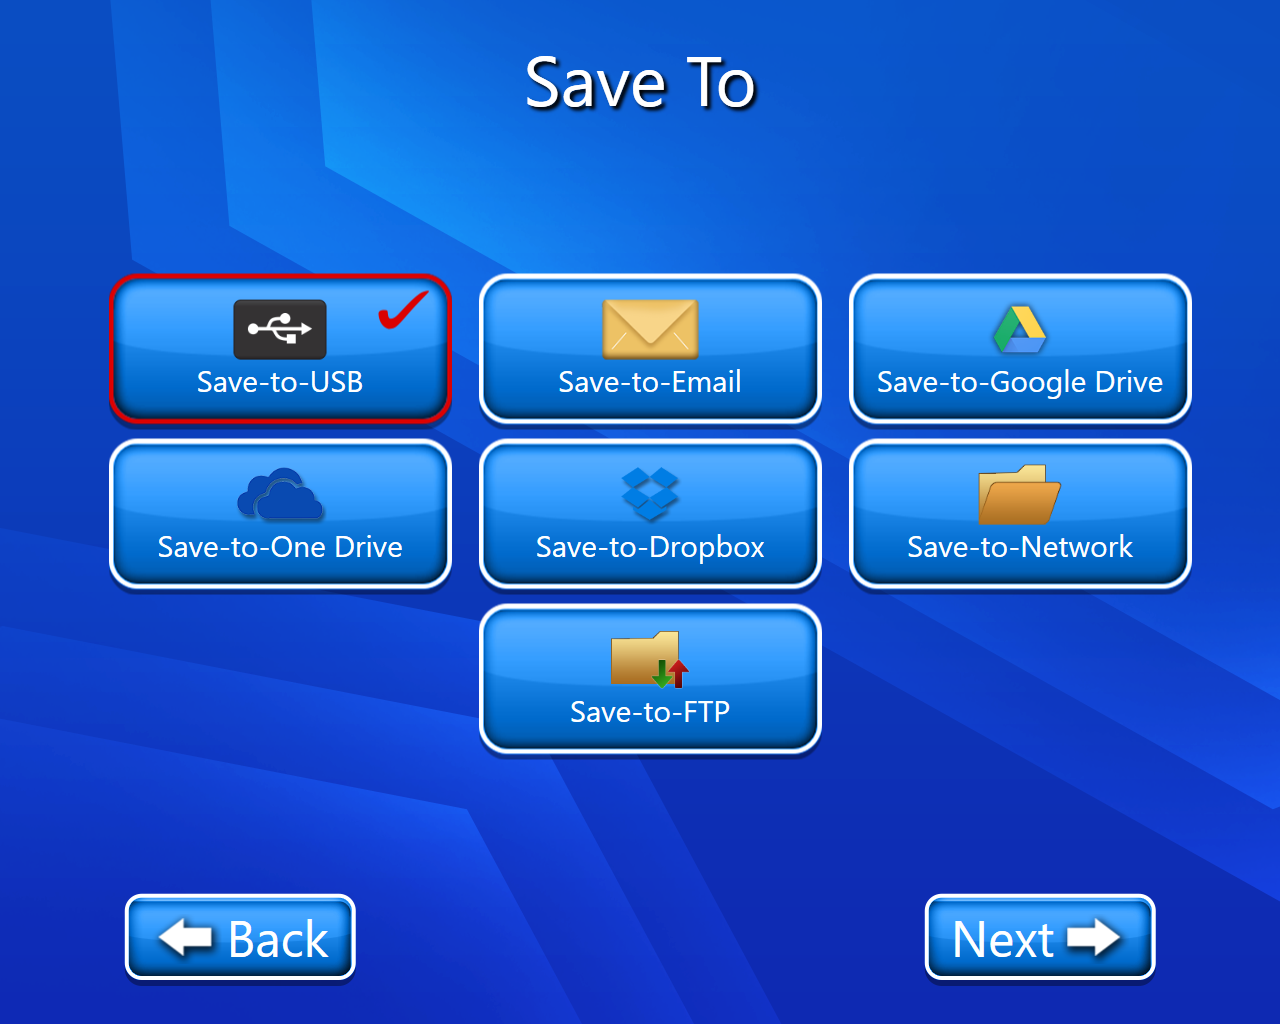
Save to other media:- If we selected this option, we have multiple options to save our scanned document. By selecting any option we can continue with that feature and usage of that feature will be in his guide.
Video description of the above feature is:-